


Take and edit a portrait photograph


Lesson details
Learning outcome
I can take and edit a profile portrait.
Key learning points
- Focusing on lighting, framing, and expression makes sure the subject stands out.
- Editing involves cropping, adjusting brightness and contrast.
- To show the subject’s personality in the photograph, you can give directions to how they pose.
Keywords
Subject - the main thing or person you see in the artwork
Photographer - someone who takes pictures with a camera. They capture moments, people, places and things in a photograph.
Framing - what you decide to include in a photograph
Lighting - how bright or dark a photo is as a result of the light
Common misconception
Pupils may hold the camera or device in a landscape grip instead of portrait.
Pupils should hold their device/camera with a portrait grip.

Equipment
A device with a camera and basic photo editing software is required for this lesson.

Licence

Lesson video
Loading...
Prior knowledge starter quiz
4 Questions
Q1.When drawing a portrait, we can use a to start our drawing with light lines, so we can change it easily if needed.
Q2.Match each tool to what it is used for in art.

Q3.Which tool would be best for making a detailed outline in a drawing?
Q4.Put these steps in the correct order for drawing a portrait.
Assessment exit quiz
4 Questions
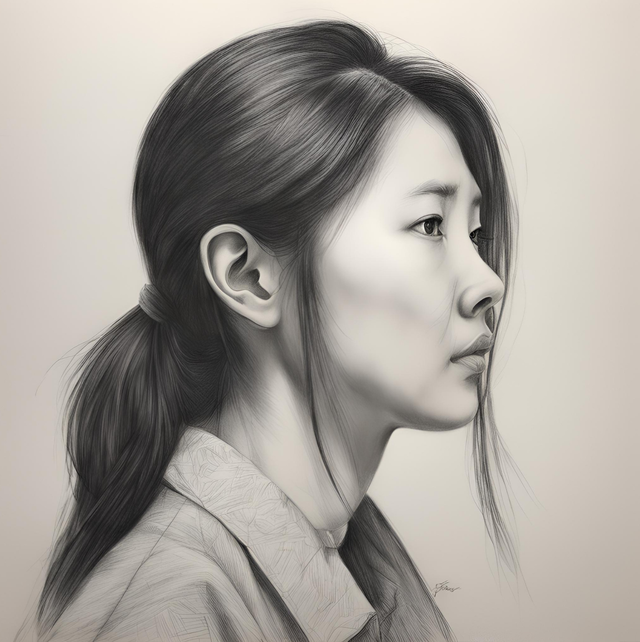
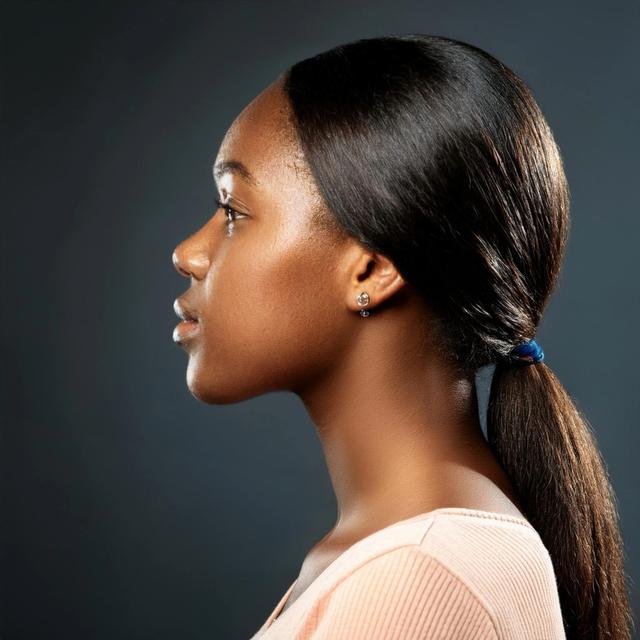
Q1.Which of these images is not a profile portrait?

Q2. capture moments, people, place and things in photographs.
Q3.When we adjust the brightness in a photograph, we make it look lighter or so the subject can stand out.
Q4.Match each action to the correct effect on the photograph.
To help you plan your 2 art and design lesson on: Take and edit a portrait photograph, download all teaching resources for free and adapt to suit your pupils' needs...
To help you plan your 2 art and design lesson on: Take and edit a portrait photograph, download all teaching resources for free and adapt to suit your pupils' needs.
The starter quiz will activate and check your pupils' prior knowledge, with versions available both with and without answers in PDF format.
We use learning cycles to break down learning into key concepts or ideas linked to the learning outcome. Each learning cycle features explanations with checks for understanding and practice tasks with feedback. All of this is found in our slide decks, ready for you to download and edit. The practice tasks are also available as printable worksheets and some lessons have additional materials with extra material you might need for teaching the lesson.
The assessment exit quiz will test your pupils' understanding of the key learning points.
Our video is a tool for planning, showing how other teachers might teach the lesson, offering helpful tips, modelled explanations and inspiration for your own delivery in the classroom. Plus, you can set it as homework or revision for pupils and keep their learning on track by sharing an online pupil version of this lesson.
Explore more key stage 1 art and design lessons from the I am beautiful: drawing and mixed media unit, dive into the full primary art and design curriculum, or learn more about lesson planning.